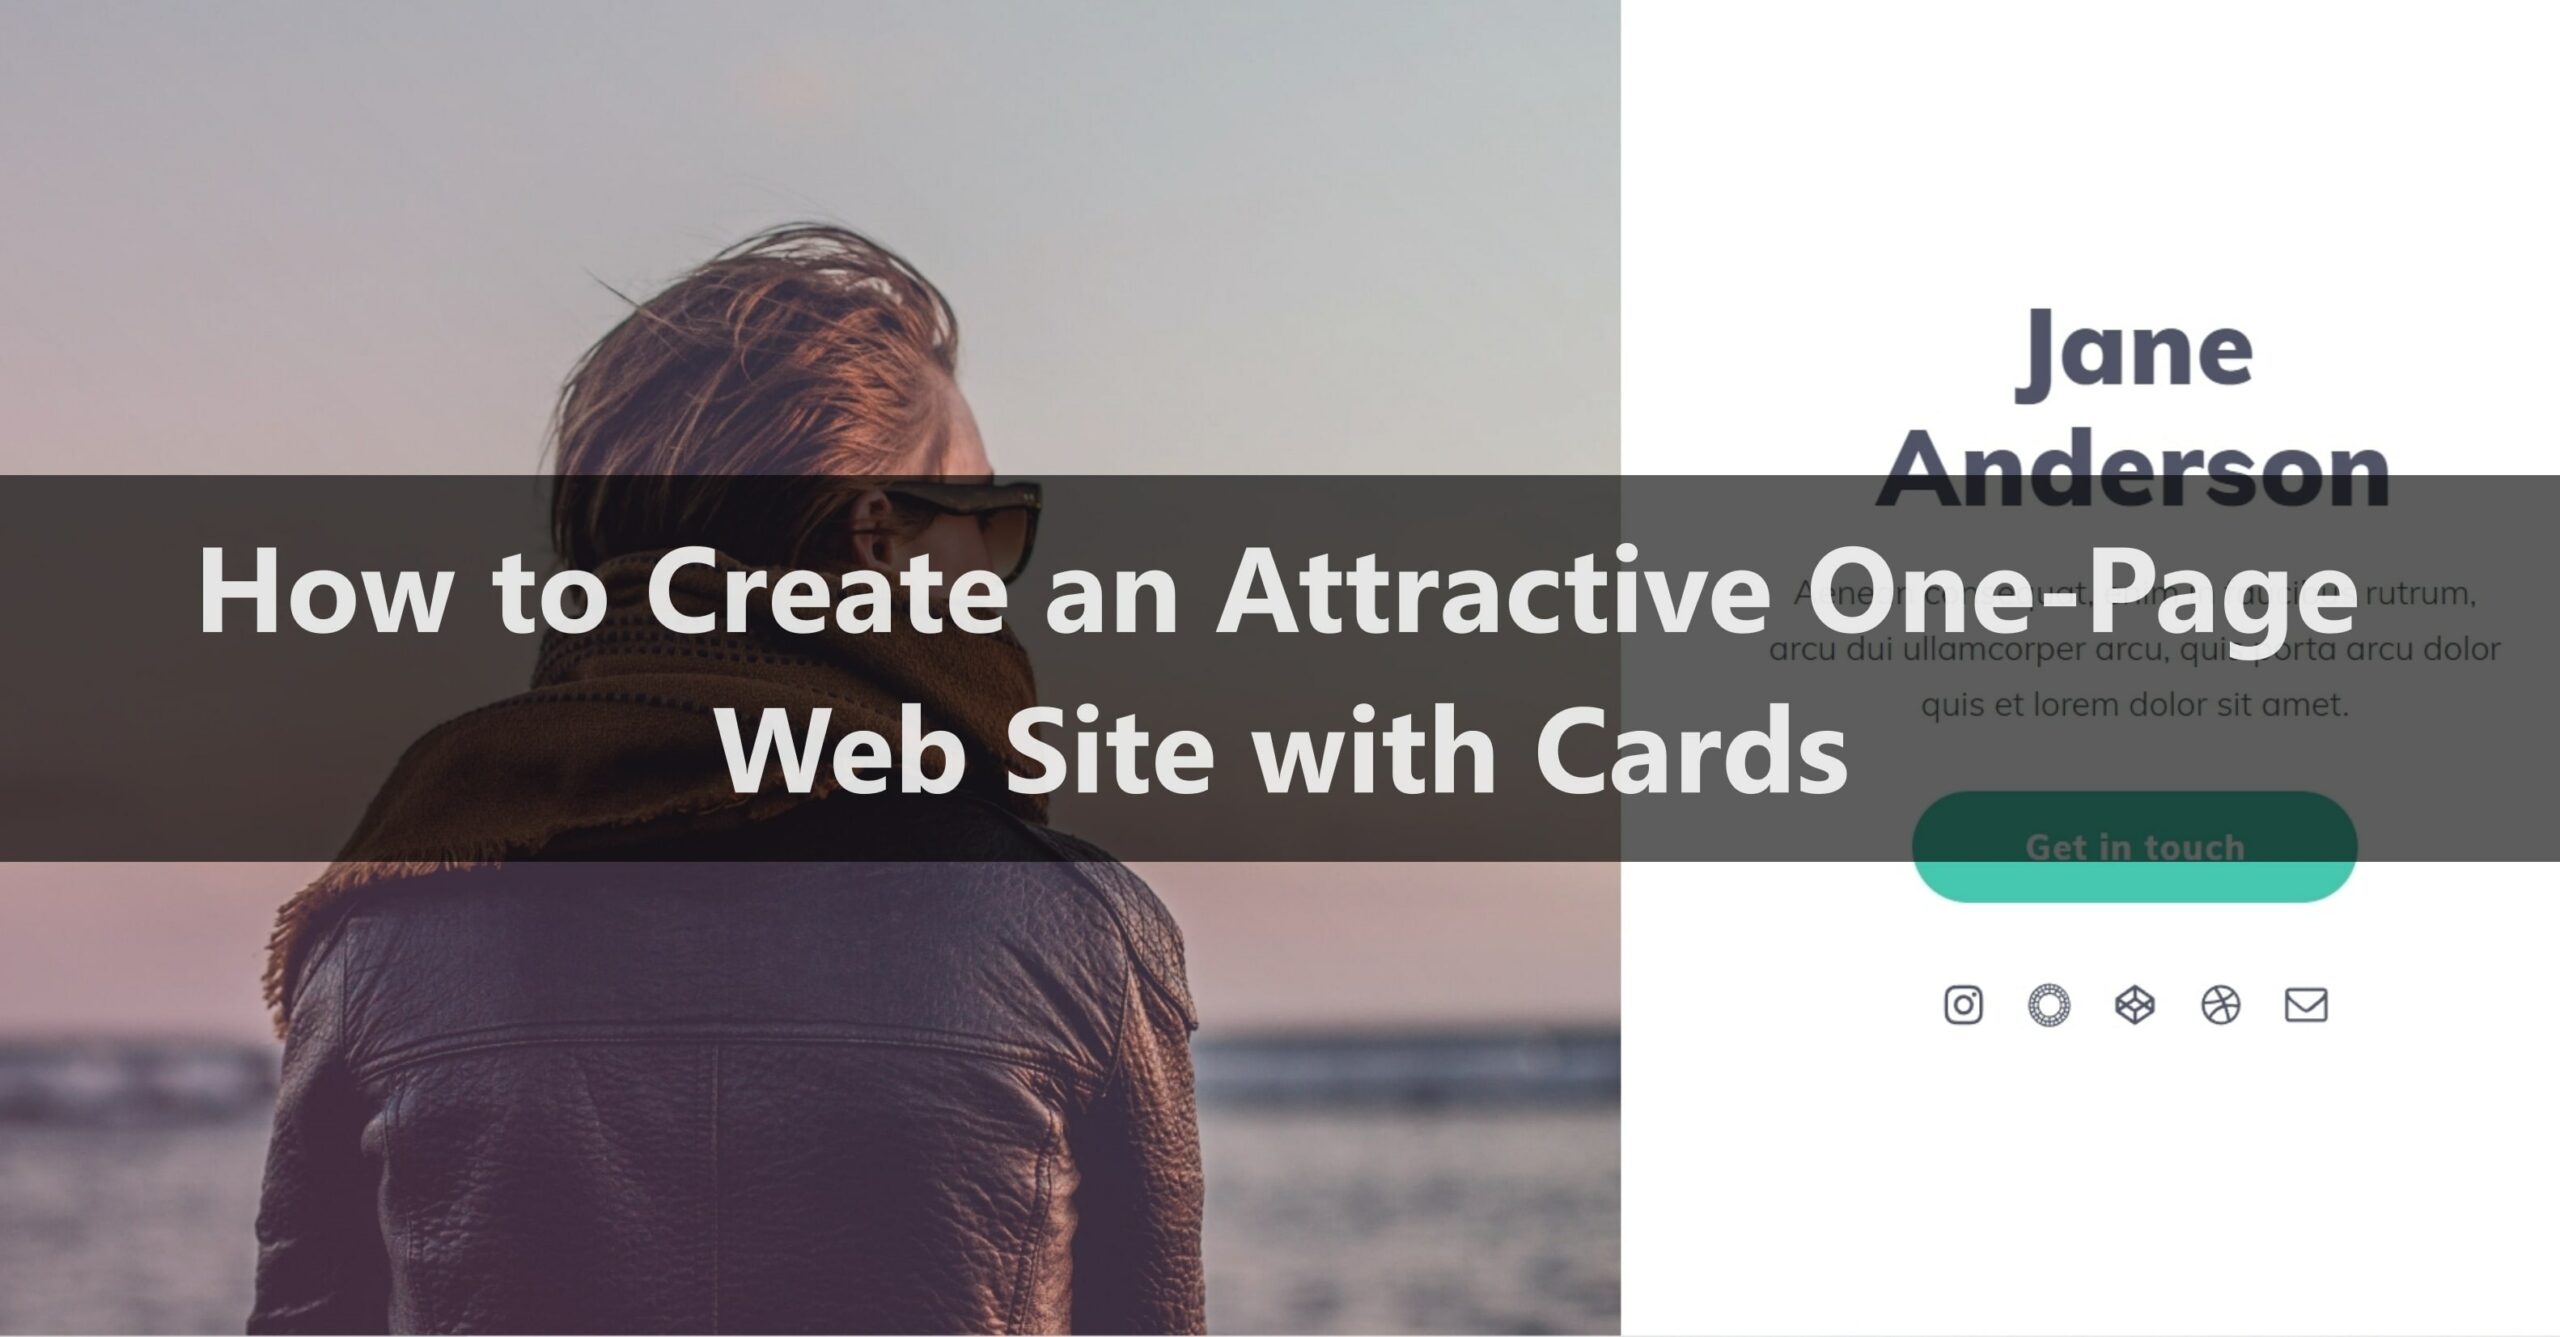
Many people run websites that want to create a website using carrd.
To create an attractive website, we recommend an app/site called Carrd.
Carrd is an app/site that allows you to create your web page using a single carrd template.
In this article, I will explain how to create a website using the carrd and the results of a survey on the carrd price plan.
・How to create a one-page website with a carrd
・How to create a multi-page website with a carrd
・About carrd price plans
・Creating a website with a carrd Recommended reason
How to create a one-page website with Carrd
Here, I will explain how to create a website using Carrd.
- Preparation before creating a website
- Sign up (create an account)
- Layout theme selection
- Edit profile
- Add backgrounds and images
- Place your CTA button
- Adding and managing sections
If you are thinking about creating a website using Carrd, please refer to it.
Step 1. Preparation before creating a website
Before creating a website using Carrd, you can create Carrd more smoothly by deciding what information to post on the website, what kind of audience you want to target, and your favorite design.
Also, if you want to launch a business concept, product, or personal profile page, we recommend purchasing your domain where you can host your website.
Using your URL (custom domain) will help you rank better on Google, greatly increasing the chances of your audience discovering your site.
Now let's create a Carrd.
Step 2. Sign up (create an account)
First, select sign up from the options button on the top right of the home screen and enter your email address and password.
The 6 options in the image above are as follows, starting from the top left:
・login
・sign up
・document
・log changes
・Join Pro Plan
・Customer service
Since you don't have an account yet, select "Sign up" and enter your email address and password.
If you want to create an account after signing up, click the 'Publish' button in the options panel on the top right.
Step 3. Select Layout Theme
Source: Carrd
After signing up, it's finally time to create your website.
First, decide on the “layout theme”, which can be the most important part of your website.
Carrd lets you choose your site design from nearly 80+ pre-built themes and layout options.
Carrd makes template selection easy by categorizing templates based on use cases such as profiles, portfolios, landing pages, sectioned websites, forms, and more.
The points to consider when choosing a layout theme are as follows.
1. What kind of audience do you want to target?
2. Something with an atmosphere that matches the product or information
3. Matching the trend
4. Match the atmosphere of each SNS and the design
If you create a card with the above points in mind, you will be able to operate it efficiently after creating a website.
If you are planning to create a website with cards, we recommend that you prepare a layout in advance.
Step 4. Edit Profile
Source: Carrd
Once you have signed up and selected a layout/theme, you will be taken to the site title and card editing interface where you can customize the theme, and elements on the page, working with configuration buttons, editing, adding, and more.
You can also access all core features such as adding elements, mobile view switching, and animations from the options button on the top right.
Here, you can change your website to a business concept, product, or personal profile page, which you have prepared in 1. Pre-creation preparation.
Step 5. Add Backgrounds and Images
To add visual and graphic elements, click the box element space allocated for the image. The left panel allows you to upload the selected image.
To add, click the blank space on the left side of the screen to display the "Select from library" option, so you can add your favorite background and image from there.
The appearance of the added image is highly customizable, allowing you to adjust opacity, saturation, angle, and more.
Step 6. Place the CTA button
Next, add a CTA button.
Adding a CTA button directs your audience to a link to subscribe to your content, update it, or find a product (on Shopify or another Linkpop site).
Adding a CTA button is recommended when creating a website using services such as cards.
For example, when an audience views your work or products, you can book a meeting, add a form (pro feature), or add a button to go to a meeting scheduling app (such as ZOOM).
Next, you can add sections to your website by clicking the #controls option in the Elements menu.
This allows you to add detailed and relevant content and organize cards based on priority.
Step 7. Add and Manage Sections
Finally, add a section.
section and having a "gallery" element, you can showcase the products and content you are selling.
First, you can add a section to your website by clicking the 'Controls' option in the 'Gallery' menu.
Adding sections to your website allows you to add more detailed and relevant content and customize based on your priorities.
You can also add other sections like About and Contact, so you can prove to your audience that your website is safe.
When creating a website, it is always a good idea to add sections.
How to create a multi-page website with cards
I think many people create website pages using cards, and those who want to create a multi-page website from scratch.
- Conclusion, you can add effects that make it look like multiple pages
- Add New Section
Here, I'll show you how to create a multi-page website using cards.
Step 1. In conclusion, you can add effects that make it look like multiple pages
The bottom line is that cards don't let you create multi-page websites, they let you add effects that make a one-page website look like multiple pages.
Cards is a single-page website builder, but you can add "sections" to a single page like the image above to give it the effect of a multi-page website.
By adding multiple pages, audiences who visit your page can also view your other pages.
Step 2. Add a New Section
Here, we will briefly explain how to add a section.
The section button is not always visible, as it is an option that your audience can click and view even if you add it.
For example, a website like the one pictured above added a section "#prints01" for artists to sell exclusive prints.
Next, add one button to your home page (first section), label it "Get Exclusive Prints", and append the second section's "#prints01" to the URL in the side panel.
In the second section where your work is displayed, add a 'Home' button and similarly configure it with 'URL#home' so that your audience can return to your home page after viewing your work.
The procedure for adding a section button is as follows.
- 1. Click "Settings" in the upper right to access the edit screen and click "Add Section"
2. Click "Add Section" on the home screen
3. Insert the name of the section and a high-quality image, etc.
4. Click "Save" or "Publish" to reflect
It is recommended that the images to be inserted should be as high quality as possible.
Card price plan
From here, I will explain in detail the cost and function of the card.
You can create up to 3 websites for free with all of Carrd's core features without signing up.
The rate plan and price of the card are as follows.
| Free Plan | Lite | Standard | Plus | |
| Price | Free | $9/year | $19 /year | $49/year |
| 7-day free trial | ◯ | ◯ | ◯ | ◯ |
| Custom domain | ✖️ | ✖️ | ◯ | ◯ |
The card's paid plan is annual, so it has the appeal of being highly cost-effective.
It is possible to create a website for free, but for those who want to create and manage a custom domain or an elaborate website, we recommend using the Standard plan, which costs $19 per year.
Two Reasons to Create a Website with Cards
From here, I will introduce why I recommend creating a website with cards.
- Easy business marketing even for beginners
- Good cost performance
Let's explain them one by one.
1. Business marketing is easy even for beginners
By creating a website using cards, you can collaborate with each SNS and advertise your ideas efficiently, so there is an advantage that you can create an actual feedback loop by building an audience.
With a single card, you can introduce 5W1H to your audience in a concise and easy-to-understand manner, including information about your activities and what you want to introduce.
From now on, if you want to deliver advertising and various information mainly on SNS to your audience, we recommend creating a website using cards.
2. Good cost performance
You can create a website using the card for free, but for those who want to operate it in earnest, we recommend a paid plan for its functionality.
The paid plan for the card is annual, so you can use and operate it freely all year round by paying once.
The custom domain can also be customized from the standard plan of $ 19 per year, so we recommend the card for those who are thinking about cost performance.

![[Card Tutorial] How to make an Aesthetic Anime Card Template](https://hintus.lit.link/wp-content/uploads/2022/08/Eye-catching-image-of-carrd-tutorial-min-150x150.jpg)



![[Card Tutorial] How to make an Aesthetic Anime Card Template](https://hintus.lit.link/wp-content/uploads/2022/08/Eye-catching-image-of-carrd-tutorial-min-300x157.jpg)
![[Updated in 2022] 10 Recommended Alternatives to Linktree](https://hintus.lit.link/wp-content/uploads/2022/09/linktree-alternatives-eye-catching-image-min-300x157.jpg)
